[环境安装] phpstudy_pro + xdebug + vscode 本机调试php
起因
由于输出调试法不灵活,而且不方便动态修改东西,所以我打算使用phpstudy_pro的方式进行本地部署php,然后本地搭建调试环境。
phpstudy 下载: https://www.xp.cn/download.html
vscode 下载: https://code.visualstudio.com/
phpstudy的配置
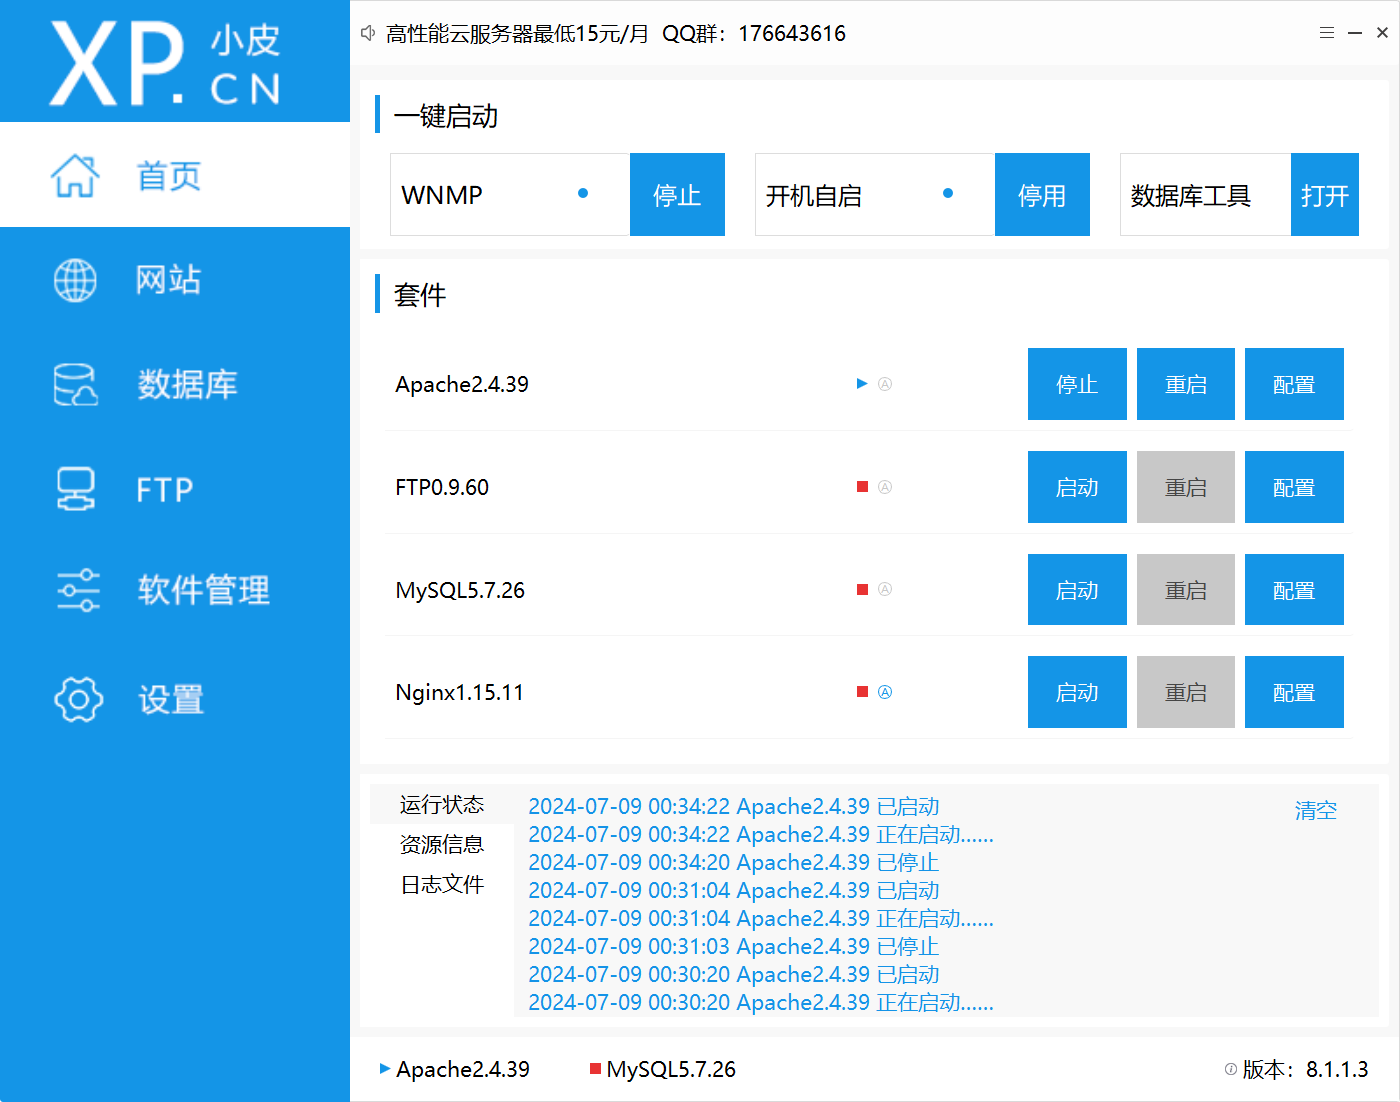
下载后打开,我们这里选择是Apache2.4.39+php7.3.4nts,Xdebug是phpstudy自动给你配置的
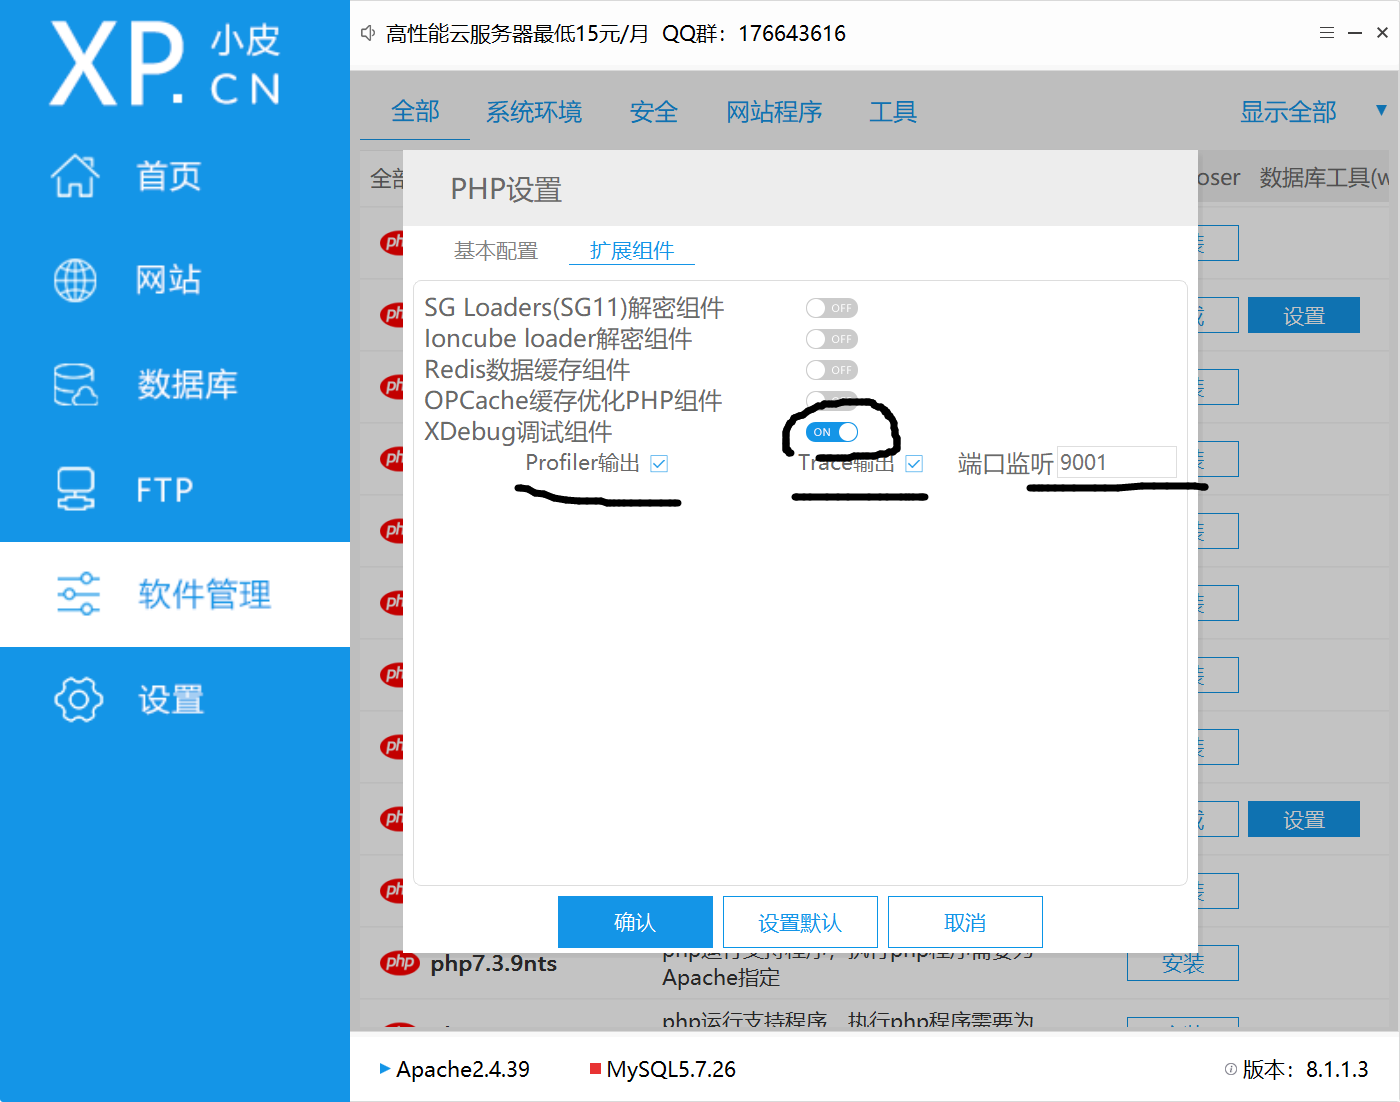
为了配置XDebug,我们按照如下图配置你当前使用的php版本
然后在设置界面,我们还需完善php.ini,使用编辑器打开php.ini,修改Xdebug段为下面的路径,注意绝对路径要替换成你的。
[Xdebug]
zend_extension=D:/phpstudy_pro/Extensions/php/php7.3.4nts/ext/php_xdebug.dll
xdebug.collect_params=1
xdebug.collect_return=1
xdebug.auto_trace=On
xdebug.trace_output_dir=D:/phpstudy_pro/Extensions/php_log/php7.3.4nts.xdebug.trace
xdebug.profiler_enable=On
xdebug.profiler_output_dir=D:/phpstudy_pro/Extensions/php_log/php7.3.4nts.xdebug.profiler
xdebug.remote_enable=On
xdebug.remote_autostart = On
xdebug.remote_host=localhost
xdebug.remote_port=9001
xdebug.remote_handler=dbgp
然后回到主页,手动重启Apache,这样phpstudy这边的就算是配置好了。
vscode 的配置
我们需要3个插件


然后,在vscode的设置里面,转到settings.json,手动配置,加上
// PHP
"php.debug.executablePath": "D:/phpstudy_pro/Extensions/php/php7.3.4nts/php.exe",
"open-php-html-js-in-browser.documentRootFolder": "D:/phpstudy_pro/WWW",
"php.validate.executablePath": "D:/phpstudy_pro/Extensions/php/php7.3.4nts/php.exe",
"open-php-html-js-in-browser.selectedBrowser": "Chrome",
注意,phpstudy的路径应替换成你的路径,WWW路径是网站的根目录。
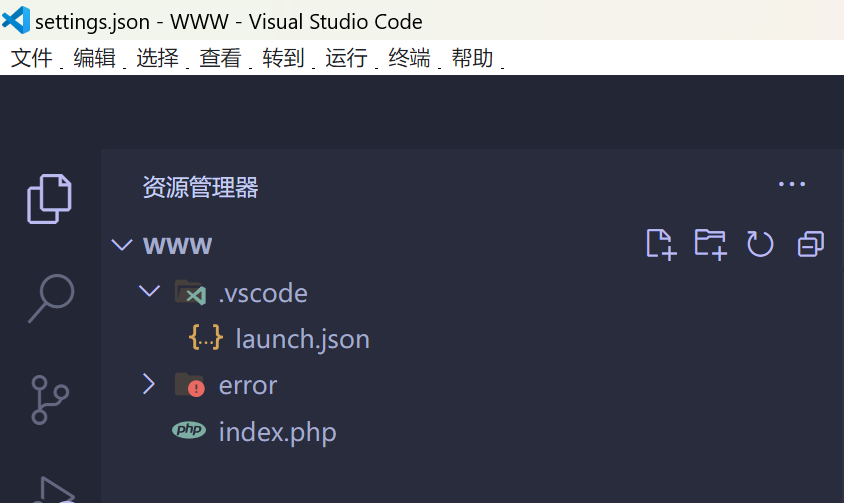
最后,使用vscode打开网站根目录
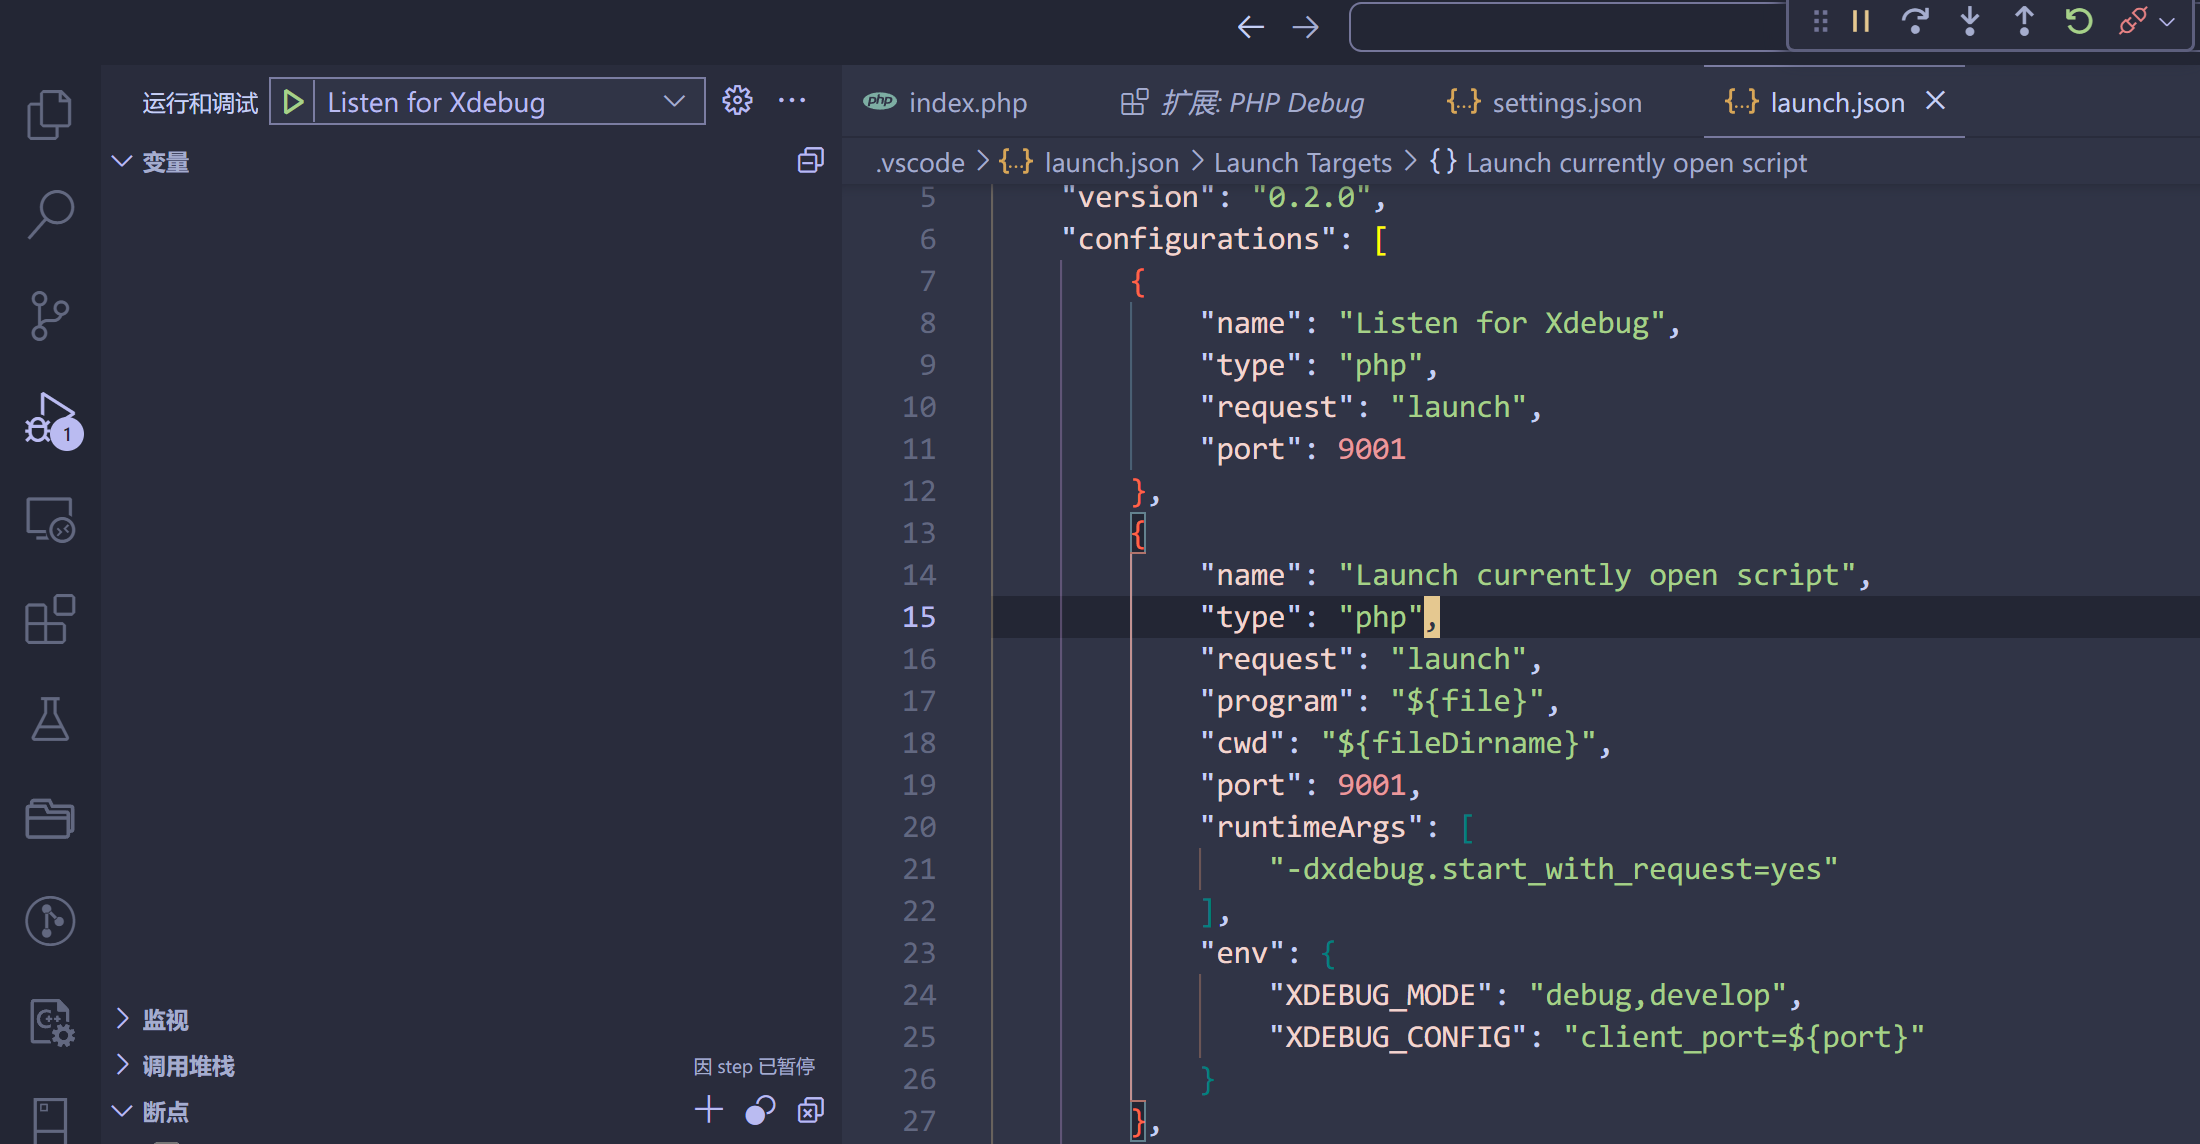
打开一个php文件,在运行和调试的地方创建新的launch.json
把这个json里面的端口改成你phpstudy中配置的xdebug调试端口。
最后,按下F5或者选择Listen for Xdebug即可开始监听,下断点后,浏览器访问即可断下。